

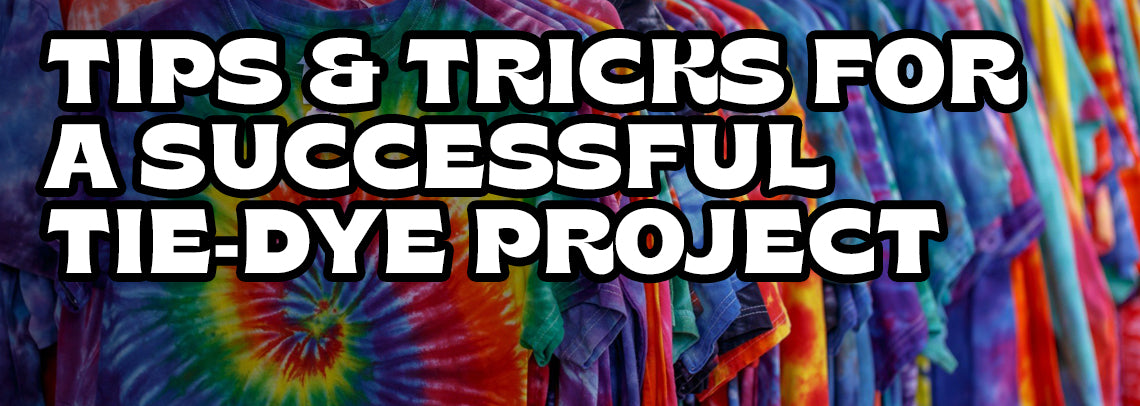
Tie-dye isn't just for kids. From being sold in your favorite clothing stores to trending on this year's runways, tie-dye is ever-evolving and here to stay.
But you don't need to spend hundreds of dollars on designer tie-dye items for a standout closet. In fact, you can make your own pieces as long as you have the right materials and use the right process.
If you've never tried tie-dye before or have previously ended up with unwearable results, our guide has you covered.
Below are our top tips and tricks for creating beautiful tie-dye pieces that you'll be proud to wear or give as a gift.
Pre-wash Your Garment
Before you start your tie-dye project, you need to plan it out. A crucial element of planning your project is to make sure to pre-wash your garment before you dye it.
This is especially true if you're using any natural fibers like 100% cotton, which is excellent for holding dye but can also shrink in the wash.
Remember that you're not restricted to t-shirts. As long as the fabric is right for tie-dying, you can dye drawstring bags, bandanas, and even socks!

This step is important because pre-washing makes sure your garment is the right size as it may shrink in the wash. You also need to wash it to remove any residues on the garment, which can cause the dye to come off and not saturate the fabric.
When pre-washing your garment, make sure you don't use any fabric softener or dryer sheets. These can leave residue on your garments and cause the dye not to absorb.
Many crafters suggest doing tie-dye on a wet garment. But, if you want fewer white areas on your shirt, then let the garment dry a little bit so that it's damp.
You can keep a spray bottle next to you if you need the garment to be wetter as you dye.
Mix the Dyes Properly
This is a good step to complete while your clothes are pre-washing in the washing machine.
To prepare the dyes, add the powdered dye to each squirt bottle first. Then you want to add the amount of water recommended by the manufacturer. Be careful not to breathe the powder in while you mix.
Then, you want to close each bottle with the attached cap and shake until the dye is completely dissolved.
And for brilliant colors, make sure to use a good-quality tie-dye kit that's made specifically for this type of project.
To help you get the best results, you want the apply the dye to the garment within 30 minutes of mixing the colors.
Learn the Color Wheel
If you want your tie-dye creations to look more upscale, sophisticated, and unique, then you want to pay attention to which colors you're using and how they look together.
For stunning patterns, you want to use colors that complement one another. You can use the color wheel to help you.
The color wheel has primary colors (red, blue, and yellow) as well as secondary colors (purple, green, and orange). When you look across the color wheel, you can find colors that complement each other.
An example of a complementary color combination is blue and orange.
You can also use analogous colors in your design. These are colors that are right next to each other on the color wheel and can help give your design a more sophisticated effect.
Learn Some Tie-Dyeing Techniques
To get the most out of your tie-dyeing experience, you want to make sure you get good at the basic techniques.
This includes learning the proper placement of knots and squeezing the dye into the folds of the fabric. A crucial step to remember is to keep the fabric covered with plastic wrap or a plastic bag while the dye soaks.
This is because the garment needs to stay wet in order for the dye to absorb. You should let the dye absorb into the garment between 12 and 24 hours, although you may want to check the instructions on the dye you bought for specific instructions.
Once you've learned the basic techniques, you can try different methods of tying the fabric to make interesting patterns.
Some of the most popular tie-dyeing techniques include creating vertical or horizontal stripes, spirals, circles, and even a bullseye shape.
Wash the Garment After Dyeing
One vital step that many people ignore is that they don't wash the garment the right way after the dyeing process is finished.

Many first-time tie-dye crafters wear their garment right away and then wash it with all their other clothes. Not only does this stain your other clothes, but it can ruin the dye in your new garment.
When the dye is finished setting, you want to carefully cut the rubber bands with a pair of scissors to avoid ruining your design.
You then want to wash the garment in the sink by hand. You want to use cold water first to let any excess dye wash off. Then, you want to use the hottest water you can until the water runs clear.
Next, you can put your garment in the washing machine. You'll want to wash the garment separately for the first few washes to make sure you don't stain your other clothes.
And once your garment is ready to be washed with the rest of your clothes, make sure to wash it with like colors just in case.
Create Beautiful Tie-Dye Designs With These Tricks
Tie-dye is one of the best ways to create unique and one-of-a-kind pieces that are perfect to keep for yourself or give as a handmade gift.
To get the best results from your project, be sure to follow these tips and tricks so that you avoid the most common mistakes and start off with the right technique.
Excited to start your next tie-dye project? Check out Hippie Crafter's catalog for all your crafting needs and to get inspiration for your next project.
To add additional accents to your tie dye you can complement the design with fabric markers!

